
Last updated November 21, 2026
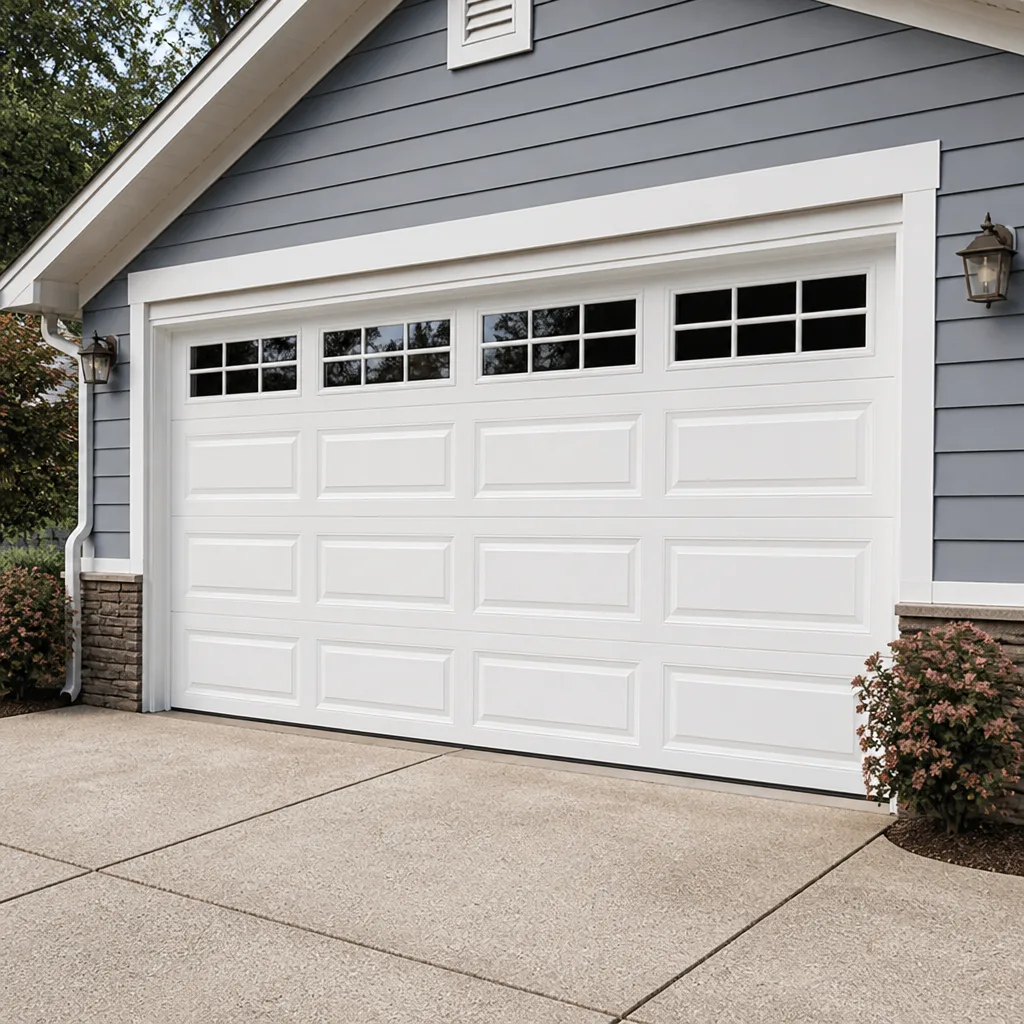 Raised-panel steel
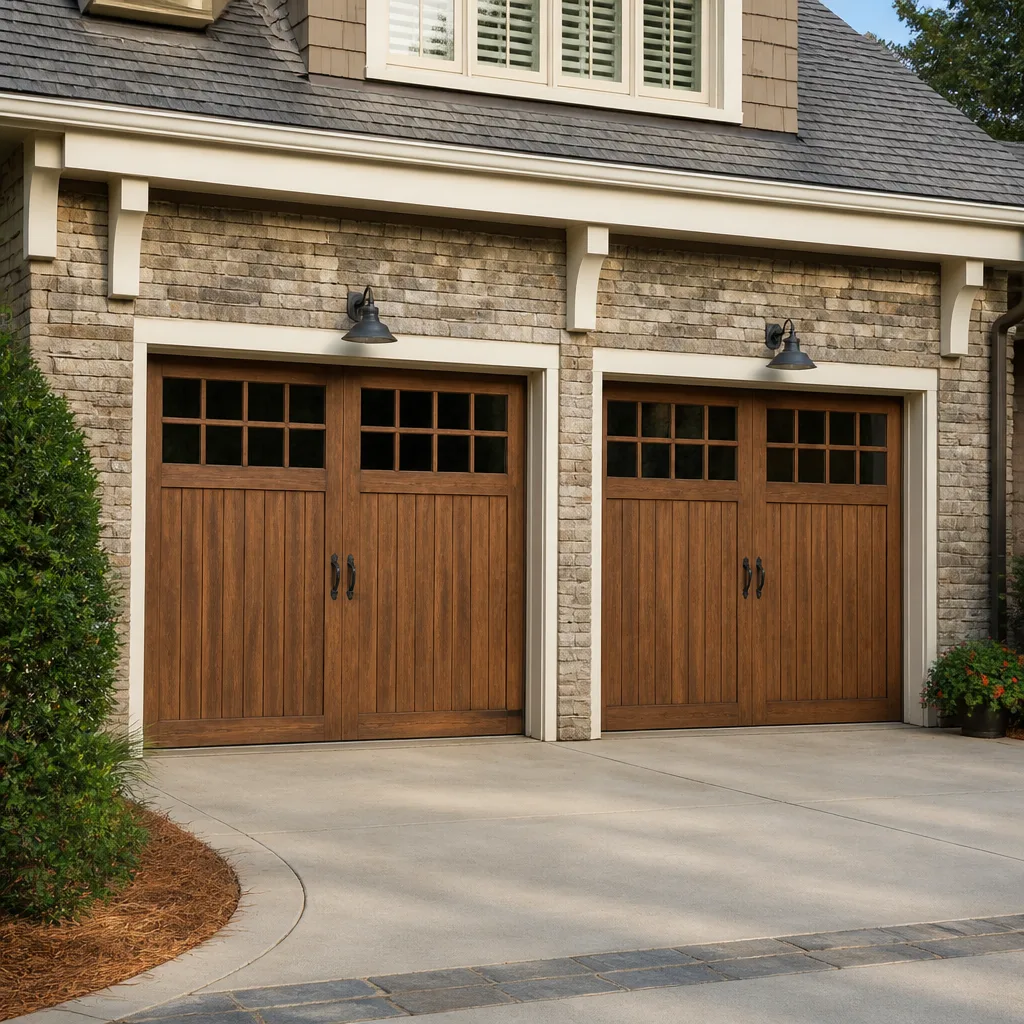 Carriage house
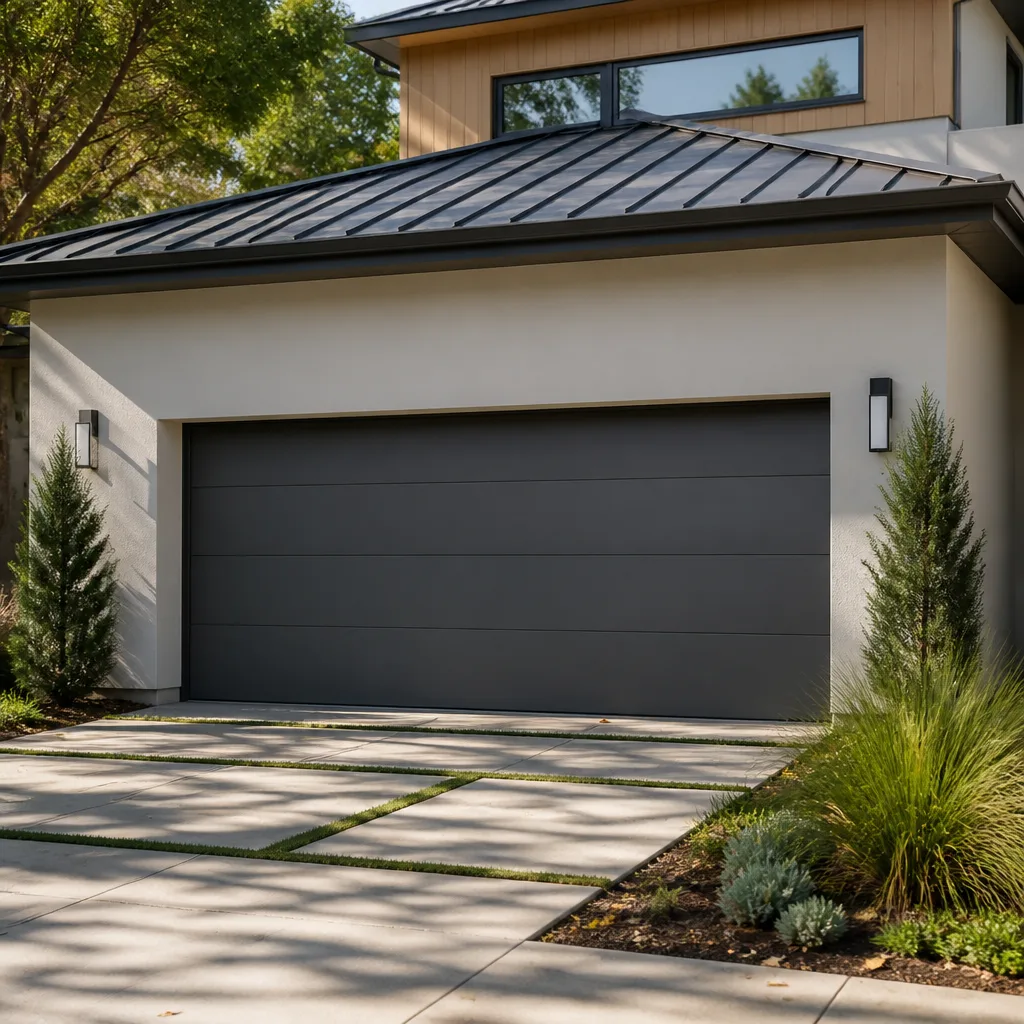 Modern flush
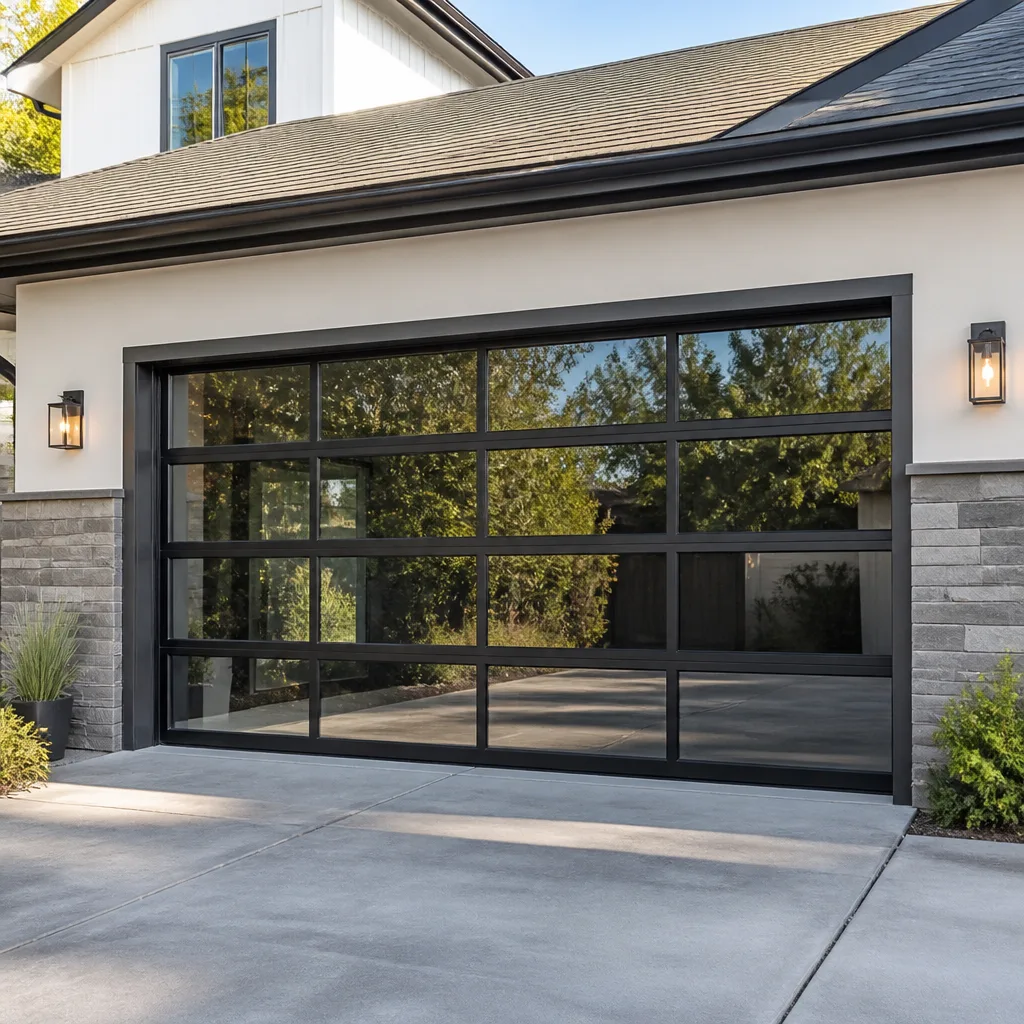 Full-view glass
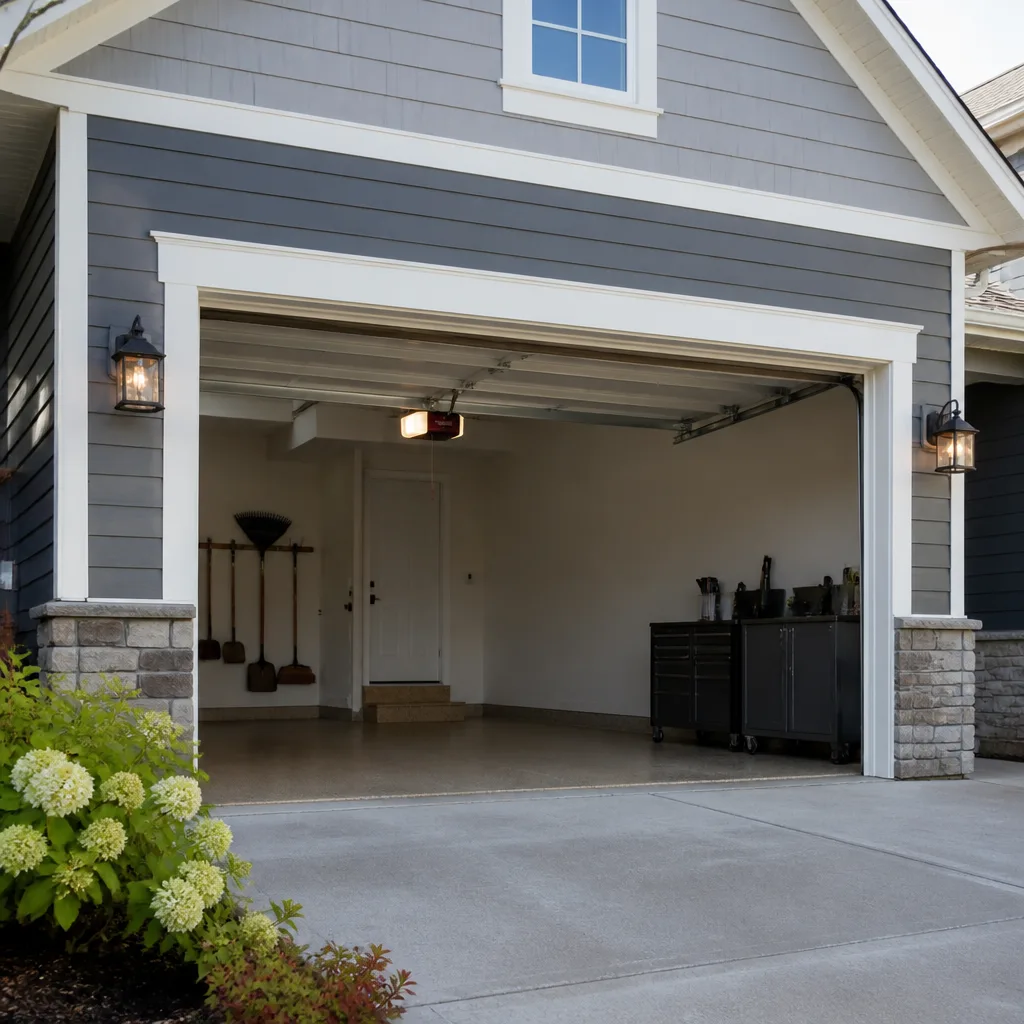 LiftMaster openers
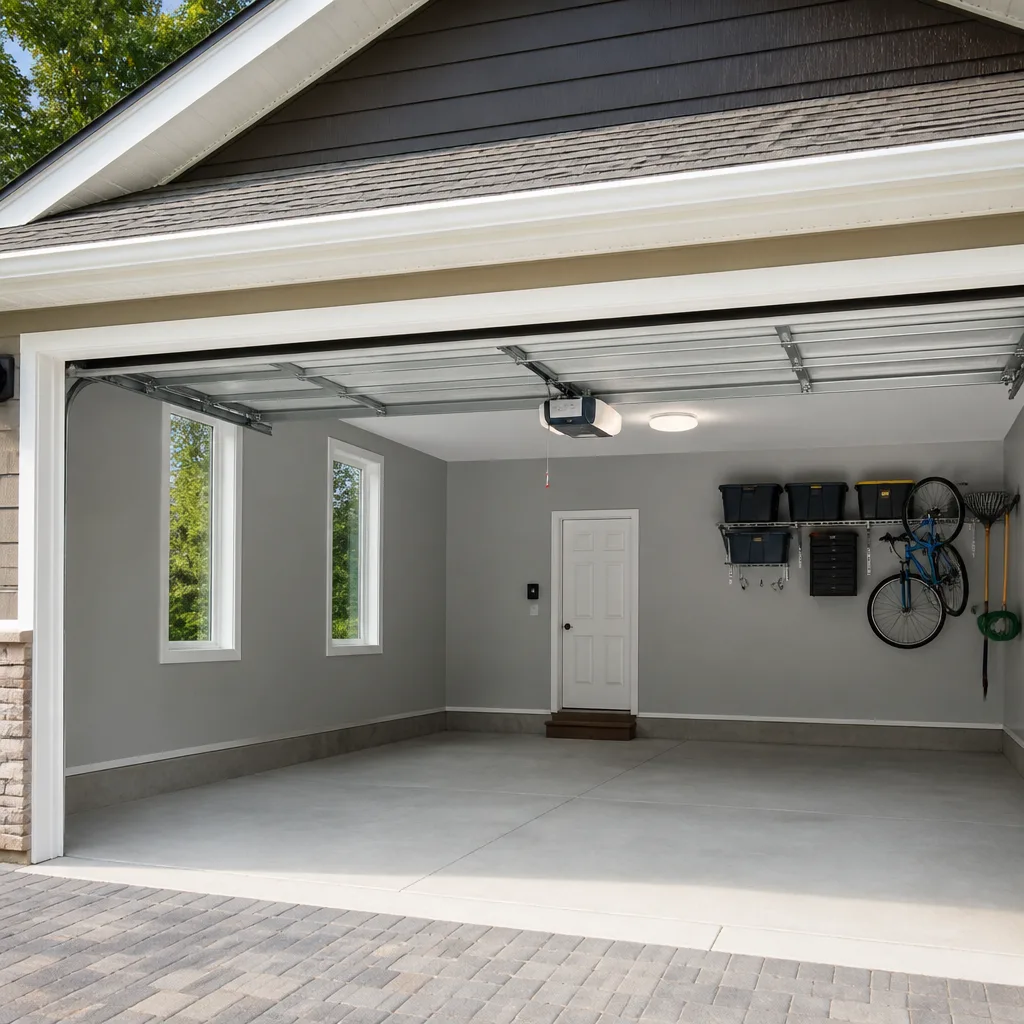 Chamberlain openers
Full 25-point door and opener safety check with every visit - springs, cables, rollers, tracks, and your LiftMaster or Chamberlain opener included
You get a price before we start. It does not change when the pro arrives.
Get your free estimateGarage Door Repair Maintenance Checklist for Canton Homeowners
A loose cable drum looks almost identical to a correctly tensioned one until it’s about to drop a 300-lb door on your car. That’s the problem with most maintenance advice: it tells you to “inspect the springs” or “check the cables” and leaves you staring at metal, nodding, and learning nothing. Knowing what to look for is useless without knowing what wrong specifically looks like.
So we built this checklist differently. Every item below is a pass/fail test you can actually run with your eyes and hands. Concrete sounds, measurable clearances, specific thresholds. You’ll also get the Canton-specific timing that matters here, where freeze-and-thaw cycles do more damage to garage door hardware than any other single factor. And you’ll learn which items are yours to check and which ones belong to a trained technician because they can kill you.
Quick Answer
A proper garage door maintenance routine for Canton homeowners means quarterly visual and tactile checks of springs, cables, rollers, tracks, seals, and opener components, with a heavier inspection before winter freeze and again after spring thaw. Anything involving torsion springs, cable re-winding, or the door’s balance under tension should go to a trained technician, not a homeowner. The pass/fail tests in this guide tell you which category a given problem falls into.
Styles & brands we work with
- Raised-panel steel
- Carriage house
- Modern flush
- Full-view glass
- LiftMaster openers
- Chamberlain openers
Table of Contents
- How to Use This Checklist
- Springs: The Component You Never Touch
- Cables and Drums: Reading Tension and Wear
- Rollers and Tracks: Wobble Thresholds and Worn-Roller Sound
- Weather Seals and the Bottom Astragal
- Opener Components: Safety Reversal, Force Settings, and Smart Systems
- Canton’s Seasonal Timing: Pre-Winter vs. Post-Thaw
- Homeowner-Safe Tasks vs. Technician-Only Tasks
- Building a Maintenance Log That Helps Your Technician
How to Use This Checklist
Run the full checklist four times a year. If you’d rather do two deep passes instead, do one in late October before the first hard freeze and one in March once the ground has thawed. Those two dates are the ones that count most in Canton, and we’ll explain why further down.
Each test below is written as a pass/fail item. “Pass” means leave it alone and check again next quarter. “Fail” means either adjust something yourself (if it’s on the homeowner-safe list) or call for service. There’s no ambiguous middle category. That’s deliberate. A garage door is a 300-pound system under spring tension, and “I think it’s probably fine” is not a maintenance strategy.
What you’ll need
- A flashlight or your phone’s light
- A tape measure
- A level (a phone level app is fine for track checks)
- Work gloves for the cable and roller checks
- Twenty minutes on the first pass, ten on each one after
One standing rule before you start: never put your hand between the door sections, into the spring coil, or anywhere near the cable drums while the door is under tension. If the door is up, keep your hands out of the track gap entirely. That rule alone prevents the majority of homeowner injuries related to garage doors, and it’s the reason several items below are “look, don’t touch.”
Springs: The Component You Never Touch
Torsion springs sit on the shaft above the door and hold the entire weight of the panels, counterbalance and all. Extension springs run horizontally along the sides if your door uses that older style. Either way, the spring check is a look-and-listen test only. You don’t touch, spray, adjust, or wind anything.
The pass/fail test
- Look at the coil spacing. On a healthy torsion spring, the coils are evenly spaced with a consistent gap between each turn. Pass: even gaps, no touching coils. Fail: any coil that’s compressed tight against its neighbor, which signals the spring has lost tension.
- Look for a visible gap in the coil itself. A broken torsion spring almost always shows a clean break somewhere along its length, and the two halves separate. If you see a gap, the door is unsupported. Stop using it.
- Check the paint. Fresh rust streaks or flaking paint on a torsion spring is a wear indicator. Springs that are steadily corroding thin out and fail earlier.
- Listen when you open the door. A sharp bang from the ceiling is the classic spring failure sound. A single loud snap followed by a door that feels extremely heavy means it’s already broken.
- Test the balance (door closed, opener disconnected). Pull the release cord with the door fully closed, then lift the door to about halfway by hand and let go. Pass: the door holds roughly where you left it. Fail: it drops or slams down. That’s a spring problem, not a door-weight problem.
Why this is a safety item, not a repair item
Spring failure is a safety issue, not just a repair call. Torsion springs store enormous energy, and a technician winding one is working with tools specifically designed to keep hands out of the release path. There is no homeowner-safe version of this job. If the balance test fails or you see a broken coil, keep the door closed, disconnect nothing further, and get it looked at. In our experience across Canton, spring failures cluster in the coldest weeks of January and February when metal contracts and older springs finally give.
Cables and Drums: Reading Tension and Wear
Cables run from the bottom corners of the door up to the drums at each end of the torsion shaft. They’re what actually lift the door, and they’re under constant tension. This section is entirely visual. Gloves on, hands off.
The pass/fail test
- Cable lay. Look up the length of each cable. Pass: the strands are wound tight and uniform with no stray wires. Fail: any frayed wire, birdcaging (strands spreading apart), or a kink. A frayed cable is between you and a door drop.
- Cable drum seating. At the top of each side, the cable should be wound neatly into the groove of the drum, one layer deep. Fail: cable riding on top of itself, loose wraps, or a drum that looks tilted. A loose drum is the failure mode that gives no warning before it lets go.
- Cable tension comparison. Both cables should look similarly taut. If one side is visibly slack while the other is tight, the door is loading unevenly and something has shifted. Don’t try to equalize it yourself.
- Bottom bracket condition. Look at where the cable attaches at the bottom corner of the door. Pass: bracket sits flat against the panel with no distortion. Fail: bent bracket, cable attachment point pulling away, or a bottom corner that sags when the door is closed.
Any fail on the cable list means the door shouldn’t be operated until a technician looks at it. Cable re-winding and drum re-seating are technician work, full stop. We handle this as part of our Garage Door Repair Canton Pros service because it comes up constantly on older doors around Canton, particularly on doors that have never had the cables replaced alongside the springs.
Rollers and Tracks: Wobble Thresholds and Worn-Roller Sound
This is the section that separates a real checklist from a vague one. Rollers and tracks fail slowly, and the symptoms are easy to confuse. Here’s how to tell them apart using measurable thresholds.
Track: the wobble test
Close the door, then stand at each vertical track and give it a gentle push and pull side to side with two fingers. Pass: less than about 1/8 inch of lateral movement, and the track springs right back to its position. Marginal: anything around 1/4 inch. Fail: more than 1/4 inch of wobble, or a track that stays displaced after you push it.
The second track test is straightness. Lay a level or a straightedge against the vertical track. Pass: it sits flat with the level’s bubble centered or close to it. Fail: a visible gap between straightedge and track, or a bubble that’s clearly off. A track that’s been knocked out of line by a bumper or a bicycle throws the whole door off its travel path and wears the rollers unevenly. Small alignments are homeowner-safe; a track that’s clearly bent or separated from the jamb usually isn’t.
Rollers: worn sound vs. bent track
Here’s the distinction most people miss. A worn roller makes a rattling, grinding, or rumbling sound as it travels, and it gets louder over the door’s travel rather than at one specific spot. A bent or misaligned track makes a rhythmic popping or scraping sound at one repeated position in the door’s travel, and it repeats at exactly the same point every cycle.
- Worn roller visual check. Pass: each roller’s wheel is round and smooth, and it spins freely when you turn it with a gloved finger (door fully closed, opener disconnected). Fail: a flat spot, visible cracks, a roller that’s worn visibly thin, or one that grinds when you spin it. Steel rollers wear flat; nylon rollers crack. Both fail quietly.
- Roller noise character. Rattling across the whole travel means rollers. One loud pop at one spot means track or hinge.
- Hinge play. Grab each hinge plate with the door closed. Pass: solid, no movement. Fail: any hinge that shifts or shows rust weeping from the knuckle.
Rollers are the most homeowner-safe item on this list and the single most neglected. Replacing rollers on a Clopay steel door with the original style takes minutes with basic tools, and it’s the difference between a door that runs quiet for years and one that shakes the wall above it.
One additional check: door level
Close the door and look at the gap under it, or lay a level across the bottom section. Pass: even gap or centered bubble. Fail: one side noticeably lower. That usually points back to cable tension or a worn hinge rather than the track, and it’s worth noting on your log for the technician.
Weather Seals and the Bottom Astragal
Canton winters are the reason this section matters more here than in most of the country. A garage door seal that’s cracked or flattened lets cold air, meltwater, and small animals straight into the garage, and once water gets into the seal channel and freezes, it splits further.
The pass/fail test
- The dollar-bill test. Close the door on a dollar bill so half is inside and half is out. Pass: you feel noticeable resistance when you pull it out, all the way across. Fail: it slides out easily at any point. That spot is a gap.
- Bottom astragal condition. Pass: the rubber or vinyl is flexible with no cracks. Fail: visible cracking, brittleness, or a seal that’s permanently flattened where it meets the floor.
- The light test. Stand inside the dark garage on a bright day. Pass: no light visible under the door. Fail: any light leaking through means air and water are coming in too.
- Perimeter seals. Check the vertical seals on the sides and the top seal. Pass: tight against the door, still pliable. Fail: gaps, tears, or seals that have pulled off their nail flange.
- The threshold condition. Look at the floor where the door meets it. Pass: smooth, flat concrete. Fail: a cracked or heaved threshold, which makes a proper seal impossible no matter how new the astragal is.
Every one of those is a homeowner job. Seals and astragals cost very little and replace in under an hour. The exception is a damaged or heaving threshold, which usually needs a concrete repair first, and that’s worth a call before you spend money on a seal that won’t sit flat.
Opener Components: Safety Reversal, Force Settings, and Smart Systems
The opener is the fastest-growing segment of service calls we see, and connected systems on multiple brands have made it more complicated, not less. A Chamberlain or Genie unit with a phone app has several failure points a manual opener doesn’t. Here’s the checklist.
The pass/fail test
- Safety reversal test. Place a box or a roll of paper towels in the door’s path on the floor. Close the door. Pass: it reverses on contact and returns to open. Fail: it hesitates, continues, or stops. This is a hard fail and it’s not optional to fix. Test the photo-eye sensors separately by blocking the beam with your leg while closing; the door should reverse immediately. Do this test every month, not quarterly.
- Blue light test. Both photo-eye indicators should glow steady, not blinking or dark. Blinking or dark means the beam is misaligned or the wiring has an issue. Clean the lenses first, then realign. That’s homeowner-safe on every brand we work on.
- Force setting test. Close the door and hold the bottom edge lightly. Pass: the door stops and reverses. Fail: it keeps driving against your hand. That’s an opener adjustment, and we’d rather see it than have you dial up the force until it “works.”
- Chain or belt check. Pass: about 1/2 inch of slack in the middle of the rail. Fail: a chain that’s noticeably loose, slapping the rail, or a belt that shows visible fraying. Belt-drive units should run nearly silent; a new grinding or squealing sound from a belt system means something’s off.
- Roller and rail wear. Where the opener meets the door at the traveler, check for slop. Pass: the arm sits at a comfortable angle with no rattling. Fail: a bent arm or a carriage that binds partway through travel.
- Smart-system check. For LiftMaster, Chamberlain, Genie, and Craftsman units on apps, tell your technician which app you use. We know which of these brands’ smart functions fail in which ways, and it saves a return trip. If your app reports the door as open when it’s closed, or drops its connection daily, that’s usually a sensor or firmware issue rather than the motor.
- Battery backup. If your opener has one, check that its indicator reads as charged. In Canton, a power outage during a storm with a door you can’t open manually is a real inconvenience, and a dead backup battery plus a locked door is worse.
Our garage door opener repair covers both legacy and smart units across those brands, so the right parts make it to the same visit as the diagnosis. That’s a real advantage over a generalist technician who diagnoses today and orders parts tomorrow.
Canton’s Seasonal Timing: Pre-Winter vs. Post-Thaw
Canton’s freeze-and-thaw cycle is the single biggest driver of garage door wear here. Everything in your garage door expands and contracts with temperature, and the spring and hardware load changes measurably when it’s 10°F versus 60°F. Here’s how to time your checks around that.
Before winter (late October)
- Seals and astragal are the top priority. A seal that’s already weak will split at first freeze. Replace before, not after.
- Spring balance test while it’s warm. It’s easier to judge a failing spring when it’s still working properly than when it’s failing under cold-load conditions.
- Lubricate the right things. Roller bearings, hinge knuckles, and track pivot points only. Never grease the tracks themselves and never touch the springs.
- Track alignment and anchor bolts. Cold increases the load on anchors. Check that each vertical track bracket is tight against the jamb; a loose anchor bolt is a fast fix in October, not in January.
- Check the door’s bottom gap. If the gap is widening as the season turns, note it.
After thaw (March)
- Cable check. Freeze-thaw cycles stress cable anchors most, and any bending or slight shift should be found now. Look for rust staining at anchor points and any change in cable tautness.
- Track straightness and the wobble test. Concrete movement around Canton garages can shift track brackets and anchor points slightly. If a track wasn’t wobbling in October and is now, the thaw explains it.
- Bottom seal condition. Meltwater has been sitting at the threshold all winter. Check for splits and rot in the astragal channel.
- Roller noise test. Winter grit and salt from the road is the hardest thing on roller bearings. Run the open and close cycle and listen for rattle.
- Spring paint check. Rust stains from a winter of condensation are a wear signal worth logging for future comparison.
Do the quarterly checks between those two anchor dates. The pre-winter and post-thaw passes are the ones where you’re comparing against the season’s effects rather than just confirming nothing has changed.
Homeowner-Safe Tasks vs. Technician-Only Tasks
This is the split that keeps people safe. Some of what’s on the checklist above is easy and gets done in minutes. Some of it has no acceptable homeowner version.
Safe for a homeowner
- Lubricating roller bearings, hinge knuckles, and track pivot points with a proper door lubricant
- Cleaning and realigning photo-eye sensors and lens covers
- Replacing weather seals and bottom astragals
- Replacing standard rollers with the door closed and opener disconnected
- Testing safety reversal, force settings, and balance
- Snugging loose track bracket bolts
Technician-only, without exception
- Any spring adjustment, replacement, or winding. Torsion springs and extension springs both.
- Any cable work. No re-winding, no drum re-seating, no tightening a slack cable.
- Realigning tracks that have pulled away from the jamb
- Diagnosing and repairing opener motor, logic board, or safety-sensor wiring faults
- Balance and weight corrections on a door that drops when released
- Threshold repairs that involve any structural work
We’ve built our service around the second list because those are exactly the calls that don’t get better on their own, and they’re the ones where the wrong tool or the wrong instinct causes an injury. Our technicians have up to 14 years of experience, and the reason we tell people to stop after the visual inspection is the same reason we tell our own technicians to use two tools when one would seem to work.
Building a Maintenance Log That Helps Your Technician
Most people who keep a garage door record do it in a notes app with three entries and then quit. A log only has value if it’s built so a technician can diagnose from it. Here’s a format to copy into a notebook or a spreadsheet.
Columns to track
- Date (and the general weather, like “first freeze” or “post-thaw”)
- Door age and brand, if you know it (Clopay, Amarr, Wayne Dalton, and Raynor panels are all common around Canton)
- Balance test result (holds / drops / slams)
- Visual spring result (even coils / gap / rust noted)
- Cable result (tight and uniform / frayed / slack on one side)
- Track wobble reading (under 1/8 inch / around 1/4 inch / more)
- Roller noise notes (rattling through travel / one popping spot / silent)
- Seal light test (no light / light at left or right corner)
- Opener brand and any app or sensor notes
- Action taken (checked, lubricated, replaced seal, etc.)
Ten columns, three minutes a quarter. What makes this log useful is the trend, not any single entry. A track wobble that reads “around 1/4 inch” in two consecutive quarters tells a technician something is creeping. Two entries six months apart of “rattling through travel” tells us your rollers are at the end of their service life even if they still run. A log that only says “checked and fine” tells nobody anything.
Bring it up on the call. When someone tells us their door brand, their opener brand, their last balance test result, and when the rattling started, we can often tell whether it’s a same-day repair or a scheduled visit before we’ve even seen the door.
Common Mistakes to Avoid
- Greasing the tracks. This is the number one mistake we see in Canton garages. Tracks should be clean and dry; grease traps grit and makes rollers slide instead of roll, which accelerates wear and makes the door bumpy instead of smooth.
- Cranking up the opener’s force setting to fix a heavy door. If the door is heavy, it’s a spring or balance problem, not a motor problem. Turning up the force just makes the motor fight the springs harder and puts more load on the door and opener until something gives.
- Replacing just one spring. A matched pair wears at the same rate. Putting a new spring next to a tired one unbalances the load, and the old one usually fails within a year of the new one going in.
- Skipping the balance test because the door “feels fine.” A failing spring doesn’t feel heavy until it’s a long way gone. The half-open release test is the only way to catch it early, and it takes ten seconds in Canton temperatures where the door’s perceived weight is easy to misjudge.
- Replacing a bottom seal without checking the threshold. If the concrete is cracked or heaved, a new seal will be split by the first freeze no matter how well it’s installed.
- Cleaning photo-eye lenses but skipping the reversal test. The lenses being clean doesn’t mean the beam reaches, and the reversal test is what actually proves the safety system works. Test it monthly, not quarterly.
- Storing a maintenance record only in your head. Every repeated symptom is a clue; without dates, none of them line up.
- Trying to “fix” a cable yourself. A slack cable isn’t a loose bolt. Winding a cable with the wrong tool, on a door that’s still under spring tension, is the single most dangerous thing a homeowner can attempt on a garage door.
See the difference
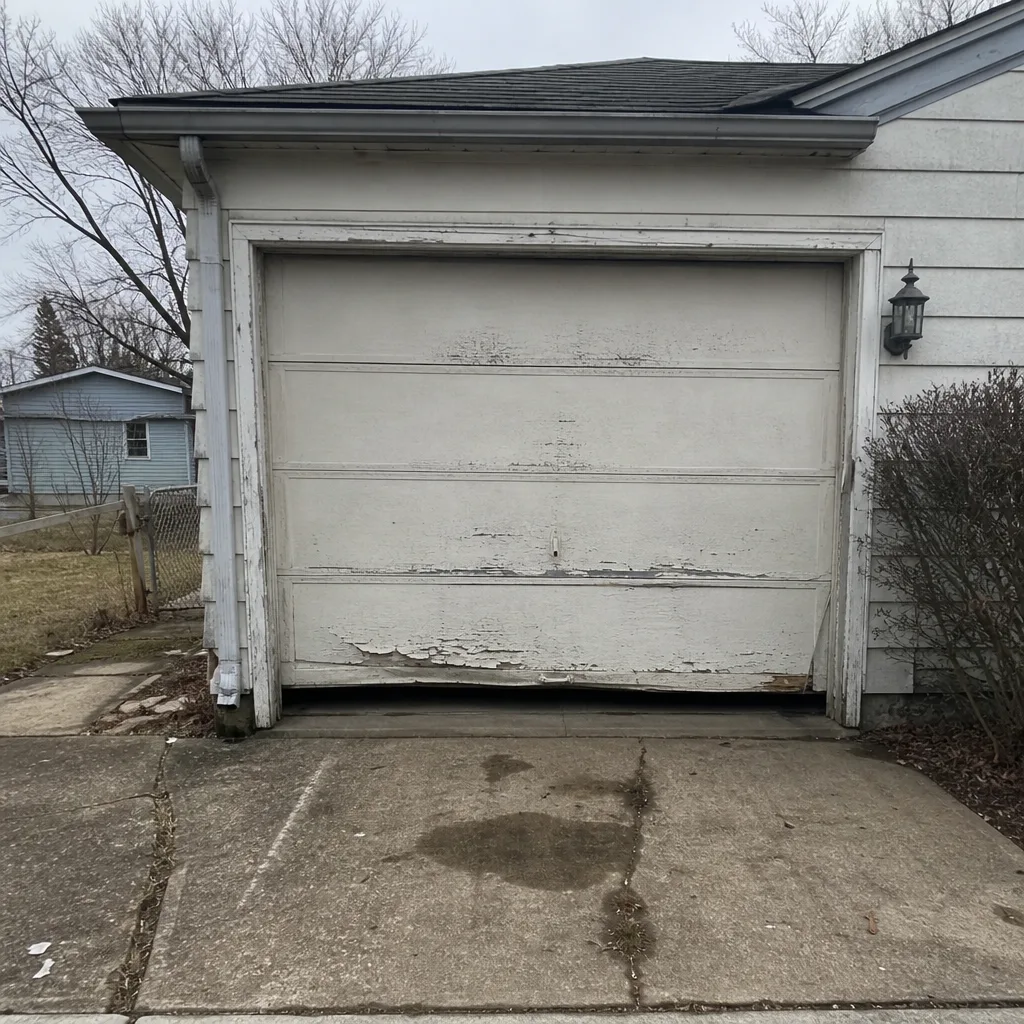 Before
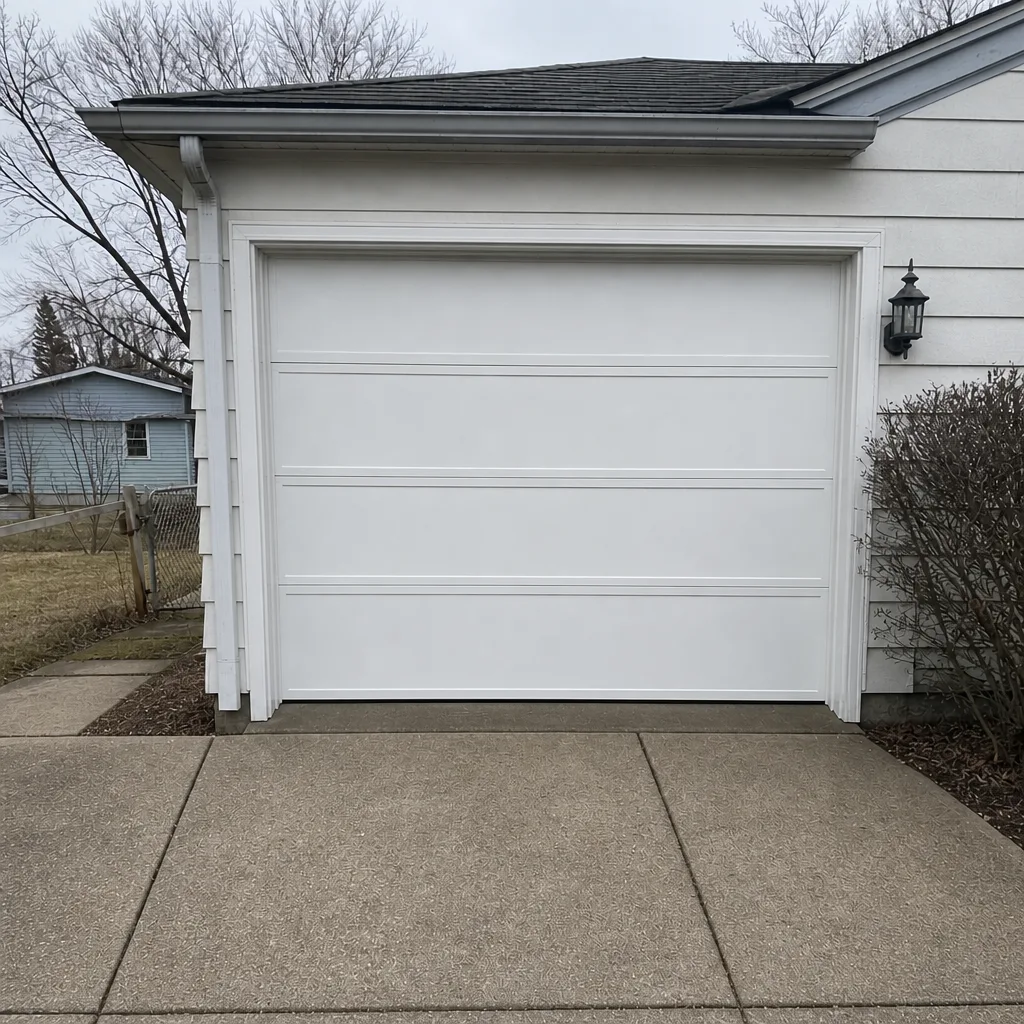 After
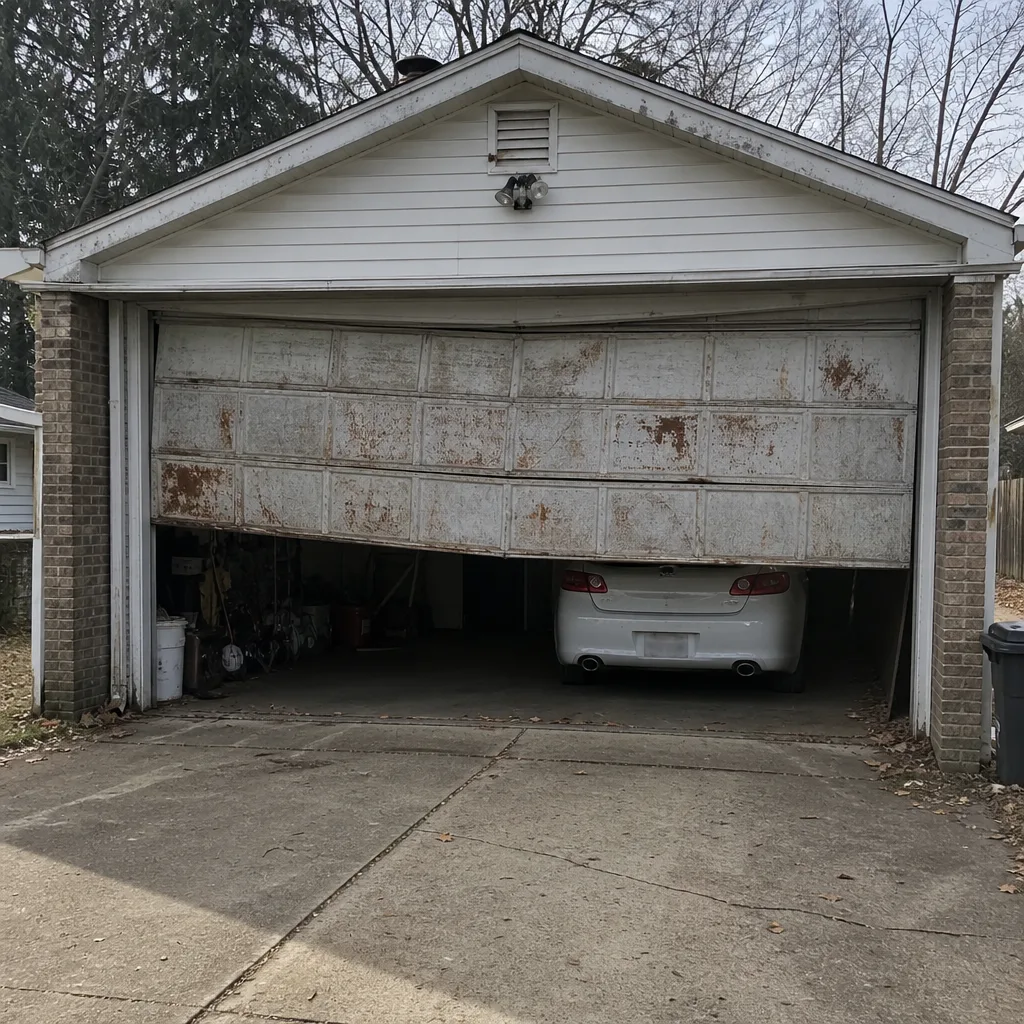 Before
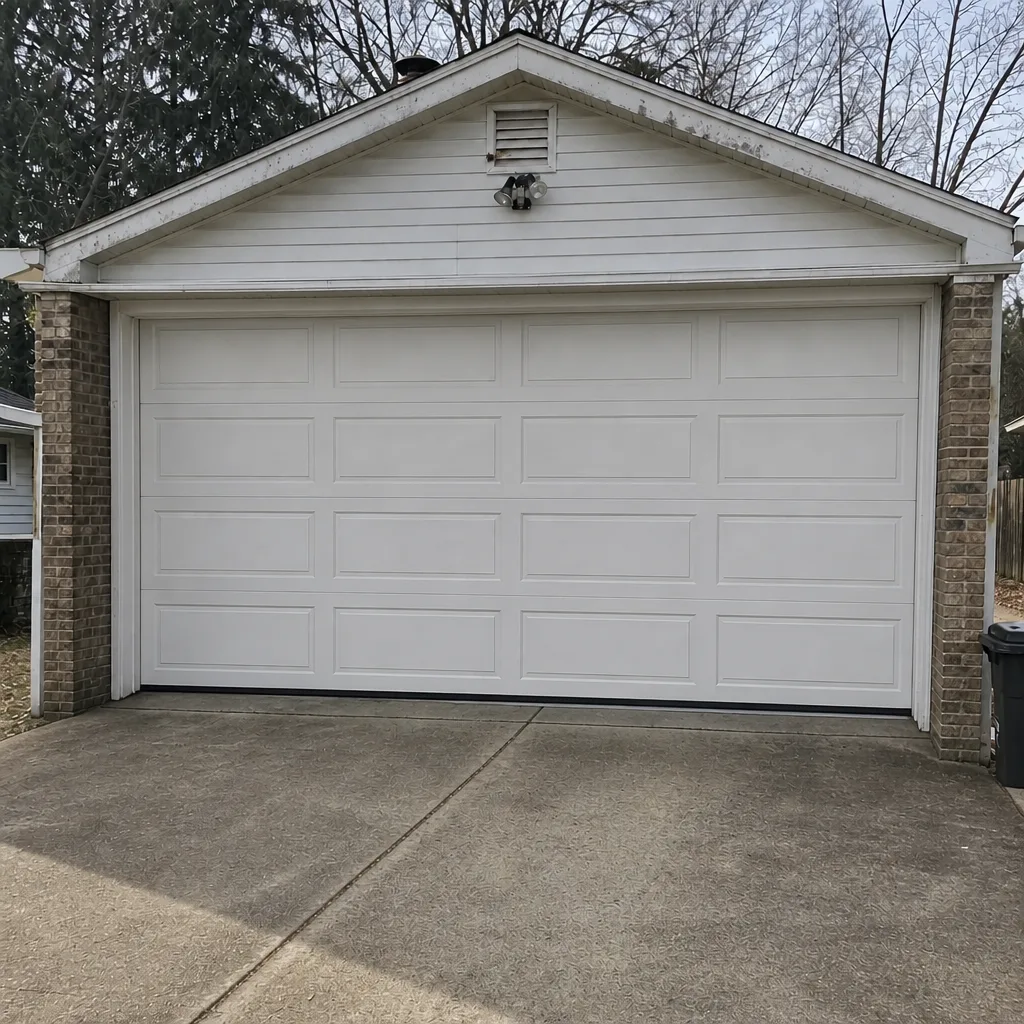 After
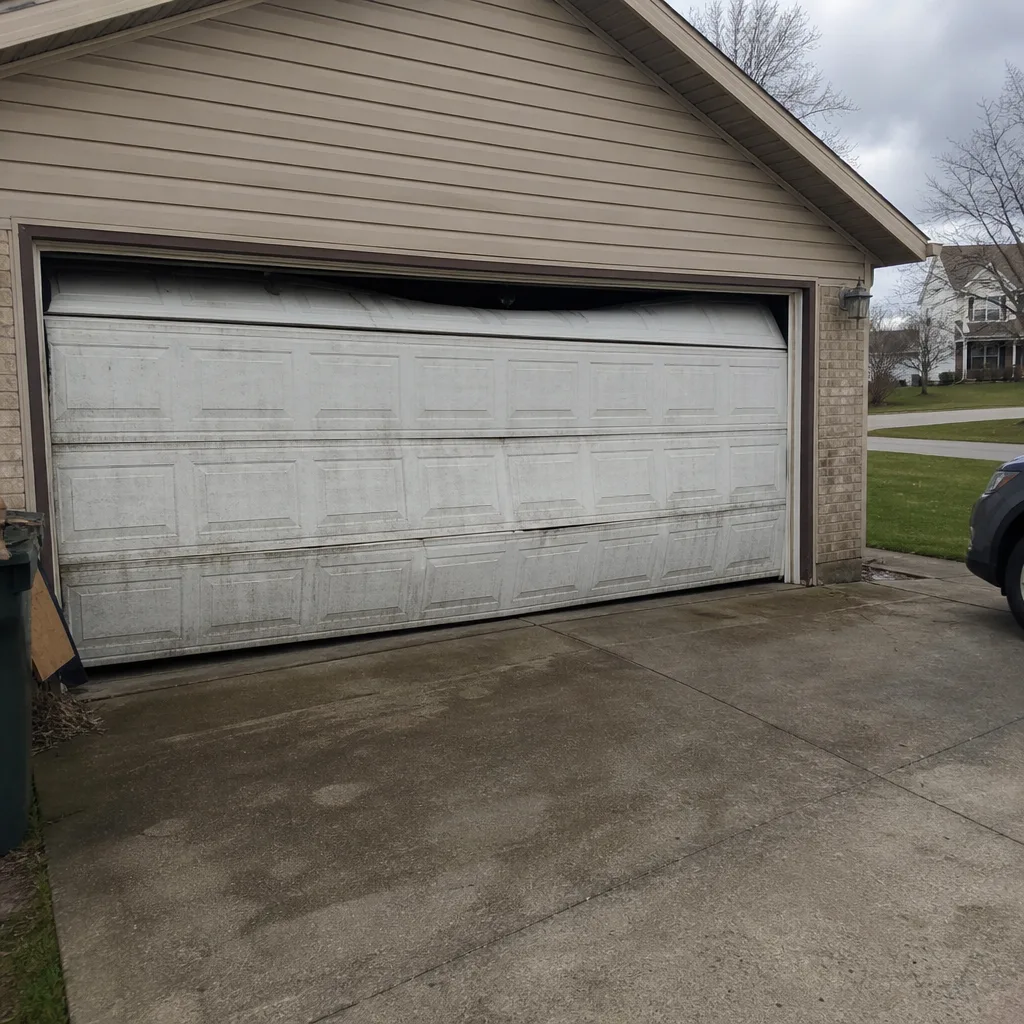 Before
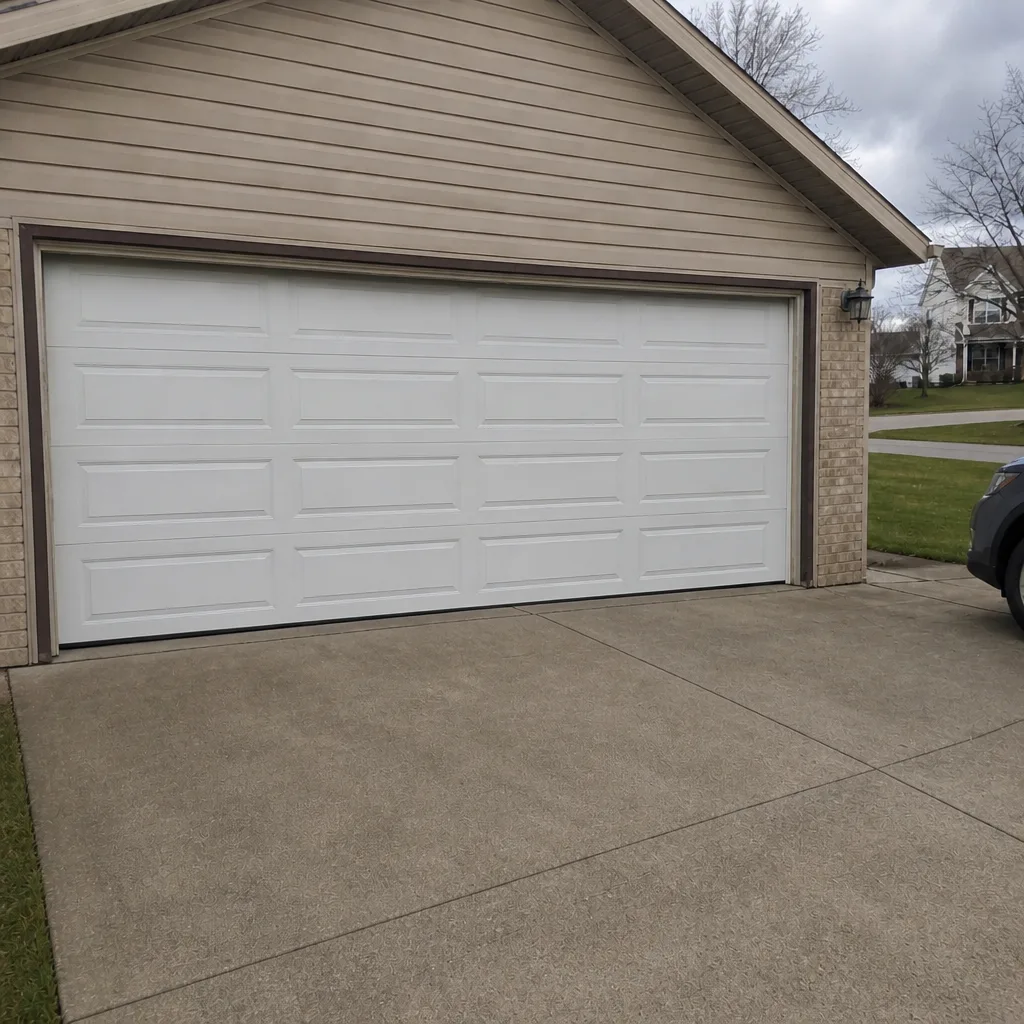 After
When to Call a Professional
Call when any of these turn up: a broken spring, a frayed or slack cable, a door that slams or drops during the balance test, a track with more than 1/4 inch of wobble or a visible bend, a door that reverses only sometimes on the safety test, a photo-eye light that won’t stay steady after cleaning, or any grinding from the opener motor itself. Also call if your door has been hit and one panel is visibly buckled, since panel damage almost always means hidden hinge and track load changes. If the door won’t move at all and the car is trapped, that’s the situation our emergency service exists for; we can get the door dealt with so the car can get out and the house is secured again. Garage Door Repair Canton Pros offers free estimates in Canton. Call (855) 707-3791. We answer 24/7. Fast dispatch from 7am to 7pm, Sunday through Friday.
Frequently Asked Questions
Run the full visual checklist four times a year, with two of those passes anchored to Canton’s seasons: one in late October before the first hard freeze and one in March after thaw. The fast checks (safety reversal test, seal light test, listen for rattle) take under five minutes and can be done monthly. Anything involving the balance test should be done whenever the door starts feeling heavier than usual, not just on a schedule.
A failing torsion spring shows a visible gap in the coil where it’s broken, compressed coils touching each other where they should be evenly spaced, or fresh rust on the paint. You may also hear a sharp bang from the ceiling. On extension springs, look for a stretched coil and check whether the safety cable running through the middle of the spring is intact. Do not touch either style. Call us and keep the door closed until someone looks at it.
Less than 1/8 inch of lateral movement is normal and means the track is fine. Around 1/4 inch is worth watching and logging. More than 1/4 inch, or a track that stays out of position after you nudge it, means it needs realignment by a technician. A track that’s been knocked out of line wears rollers unevenly and throws the door off its travel path, so a small fix now prevents a larger one later.
Yes, weather seals and bottom astragals are homeowner jobs. Buy the same profile as your current seal (measure the width of the channel), and replace the whole length at once rather than patching a section, since a patch seam will split at the first freeze. The one case where replacing it yourself doesn’t work is a cracked or heaved threshold; the new seal won’t sit flat, so the concrete needs attention first.
Usually not. On Chamberlain, Genie, LiftMaster, and Craftsman connected units, a door that reports the wrong status or loses its connection daily is typically a sensor, wiring, or firmware issue rather than the motor itself. Check the photo-eye alignment and the battery backup first, then call. Knowing your opener brand and exactly what the app does wrong saves a return trip and gets the right part to the door on the first visit.
A worn roller makes noise that’s roughly constant across the whole travel: rattling, grinding, or rumbling that gets louder over the cycle. A bent track makes a rhythmic pop or scrape at one specific point that repeats at exactly the same spot every time. If the noise stops when the door is at one position and starts again at the same position, it’s the track or a hinge. If it runs the whole length, it’s the rollers.
The Bottom Line
A maintenance checklist works when it tells you exactly what wrong looks like, and that’s the difference between a habit that protects your door and a habit that just feels like one. Springs are a visual check only; cables get replaced, not tightened; 1/8 inch of track wobble is fine and 1/4 inch is a trend worth logging. Run the full pass four times a year, anchor one to the first freeze and one to the thaw, and test the safety reversal monthly. Keep the log. When something fails the test, or when the door fails entirely and the car is stuck behind it, that’s when you call. Our garage door repair covers everything from springs and cables to rollers and panels, and our garage door installation handles the day a repair no longer makes sense. Call (855) 707-3791 for a free estimate. We answer 24/7. Fast dispatch from 7am to 7pm, Sunday through Friday. The price is quoted and agreed before any work starts, and the written estimate sets the final price, so there are no surprises after the door is back on its tracks.
Written by the team at Garage Door Repair Canton Pros.